Have you ever wondered how to grow coffee at home? Growing your own coffee is simpler than you might think, as long as your are patient. Plus the taste really makes a difference! My home grown coffee tastes much richer and more natural than any store bought coffee.
People grow all kinds of vegetables and fruits in their backyards but why do we hardly see anyone growing their own coffee? The answer is fairly simple: it takes a long time, roughly 4 years before the trees are mature enough to produce berries. But if you have the patience and the love for coffee as I do, it’s well worth it. In this post I will be going through all the steps I took to grow my own coffee and finally pull my first espresso shot with homegrown coffee.
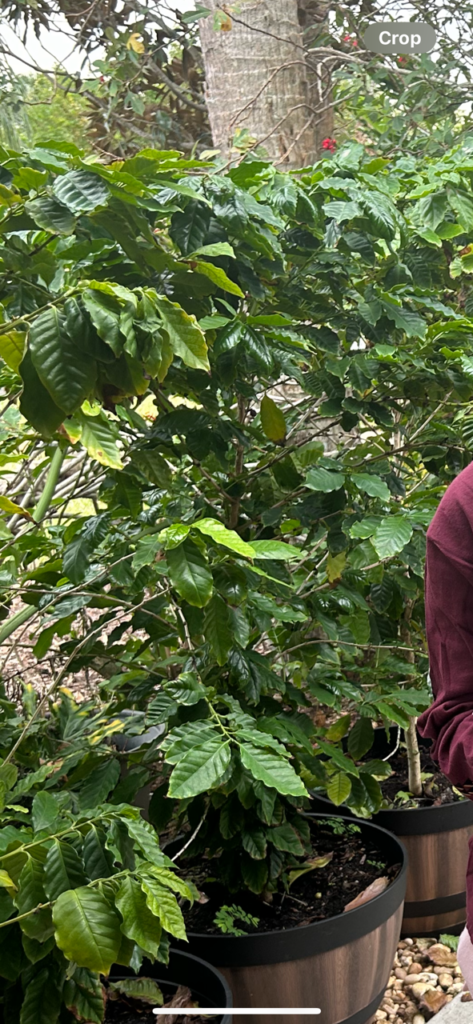
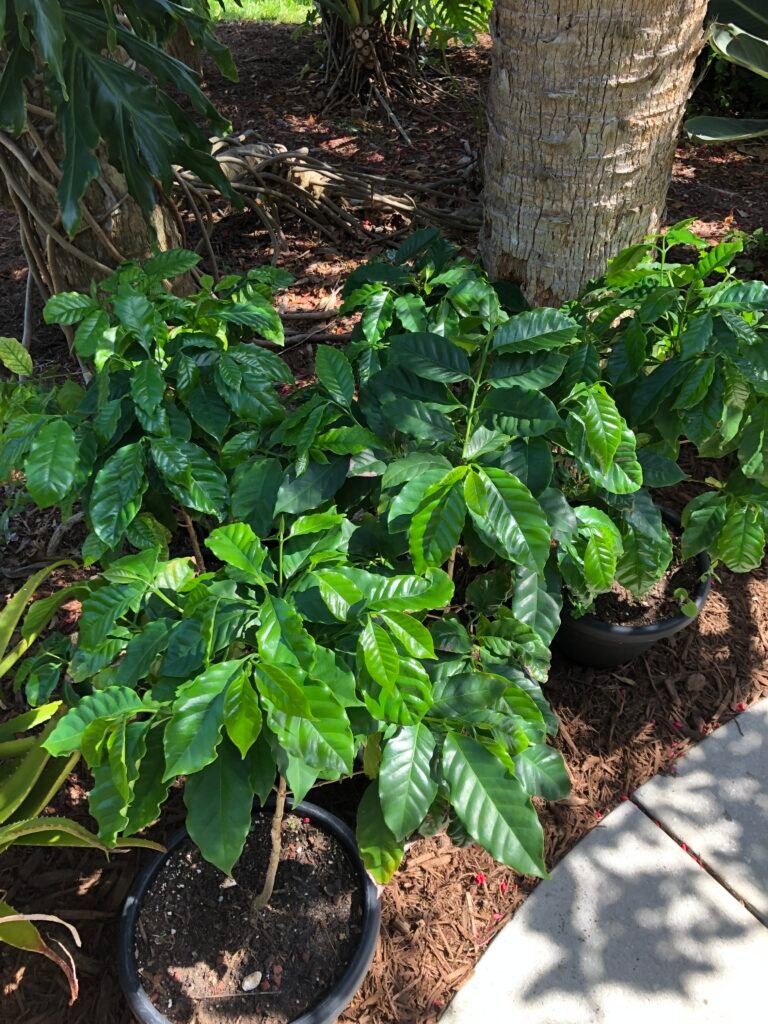
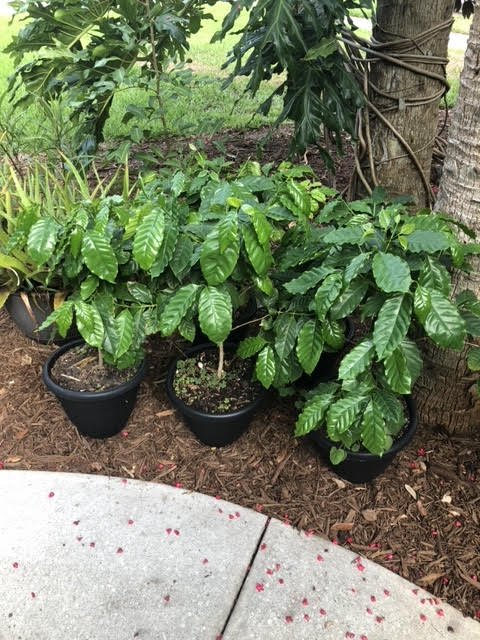
Size of my current coffee trees (approx. 5 feet)
Planting your Coffee Trees
Indoors or Outdoors?
Your first step in your coffee growing journey is to determine if you will grow your plants indoors or outdoors. To grow coffee outdoors you must ensure your coffee plants will thrive in the environment you live in. Coffee plants thrive in tropical and subtropical climates with temperatures between 60°F and 70°F, moderate rainfall, and high humidity. I live in Florida so I decided to grow mine outside.
Outside:
-
- Sunlight: When growing coffee outside ensure the coffee plants are in indirect sunlight or partial shade.
Inside:
-
- Light: Ensure the coffee plants are placed in a spot near a bright window or use a grow light as they require a significant amount of sunlight (4-6 hours of indirect sunlight per day).
-
- Temperature: Keep the temperature around 60°F and 70°F throughout the entire year.
-
- Humidity: Coffee plants thrive in high humidity. Consider using a humidifier or misting the plants regularly.
Select Coffee Variation
-
- Arabica: Sweeter and milder variation and probably what you typically drink when getting a cup of coffee
-
- Robusta: stronger and more bitter
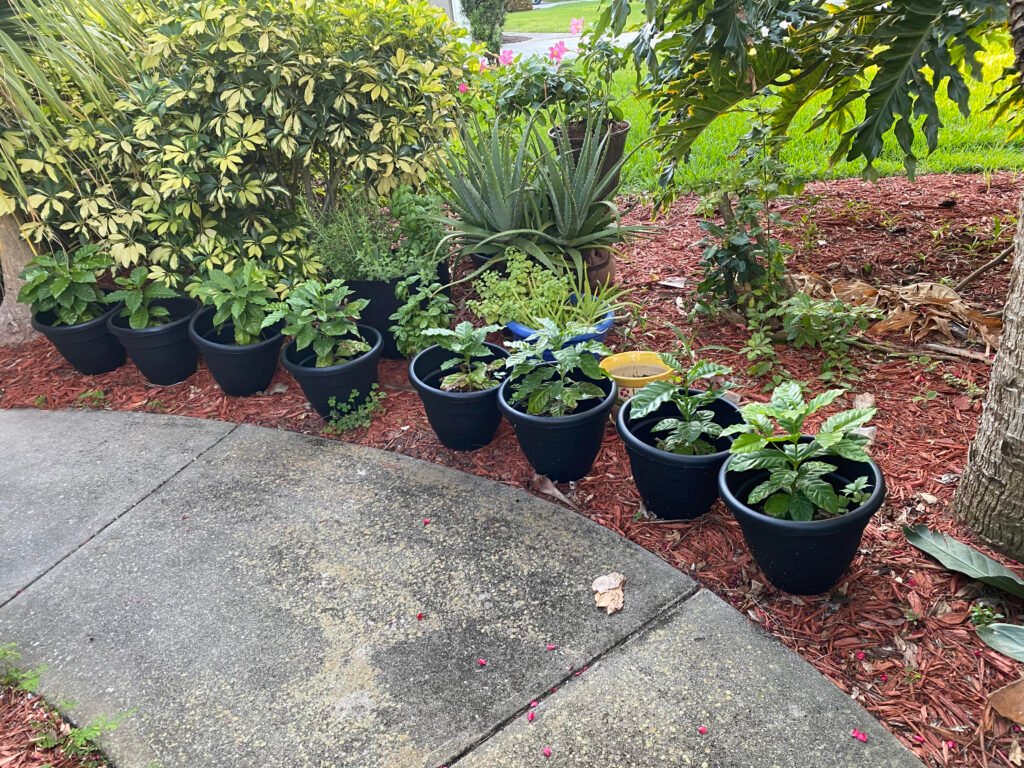
For me, I went with Arabica Saplings. I have had great success with these and now have a total of 6 mature plants (4 years old) and 6 young plants (1-2 years old). I have tried growing coffee from the bean before but I have had little success, so if don’t have a green thumb I would go with the saplings.
4″ Arabica Coffee Plants from Amazon
6″ Arabica Coffee Plants from Amazon
Robusta Coffee Seeds from Amazon
Planting the Coffee
If you bought the saplings all you need to do when receiving the coffee plants is separate them out each into their own small appropriately sized pot.
If you bought seeds, plant 1-2 inches deep ensuring proper spacing between each seed.
In both cases coffee plants prefer well-drained slightly acidic soil.
How to Grow Coffee
General Care
Watering
Keep the soil consistently moist but not waterlogged, too much water could kill the plant. While watering I always try to mist the plants because coffee plants love humidity!
Fertilizing
Try to regularly fertilize your coffee plants with organic or nitrogen-rich fertilizers. One trick I picked up was to add crushed volcanic lava rock to the soil. The crushed lava rock will improve drainage, soil aeration, soil structure, nutrient retention, pH balance, and more!
Volcanic Lava Rock from Amazon
When to Repot?
You will want to repot your coffee plant the first time once the plant reaches 6-12 inches tall. Coffee plants natural environments have very dense root structure with not a lot of soil to work with so it can actually be beneficial to start with smaller pots and work your way up as they grow.
-
- Report at 6-12 inches tall (6-12 months)
-
- Repot again (1-3 years old) – In my case I repotted into the same pots as I had used too large of pots for the first repot
-
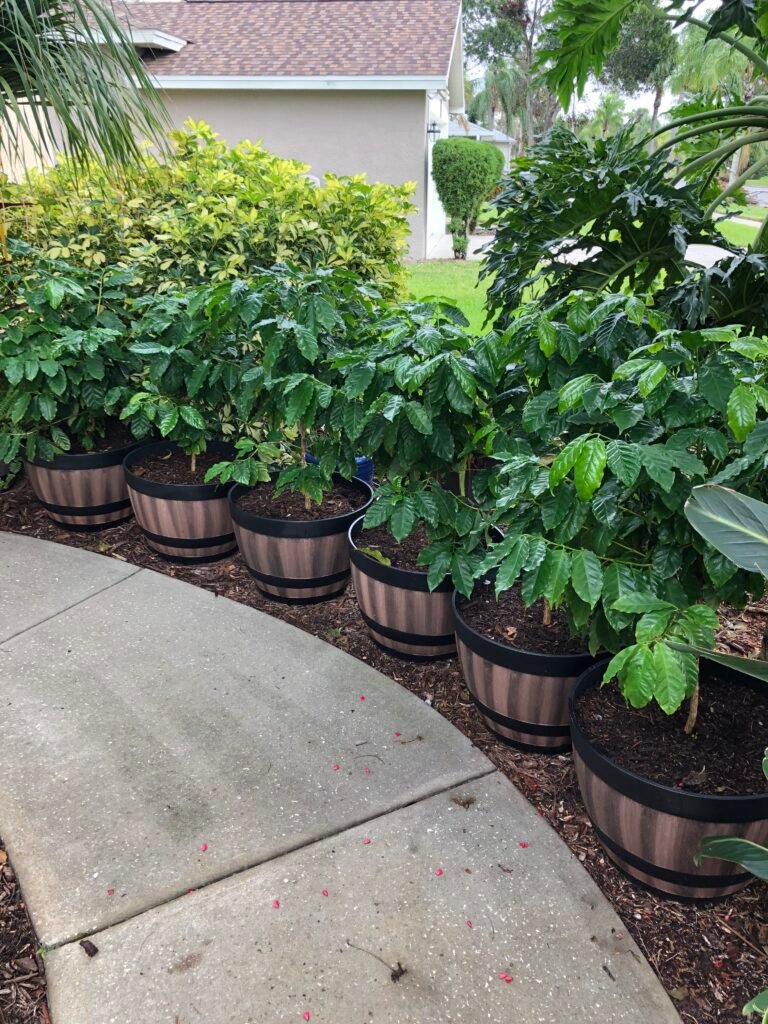
- Repot again into half wine barrel as the plant begins maturing (3+ years old)
-
- After repotting into the half-wine barrel (or pot of similar size) you will want to repot every 2-3 years from then on.
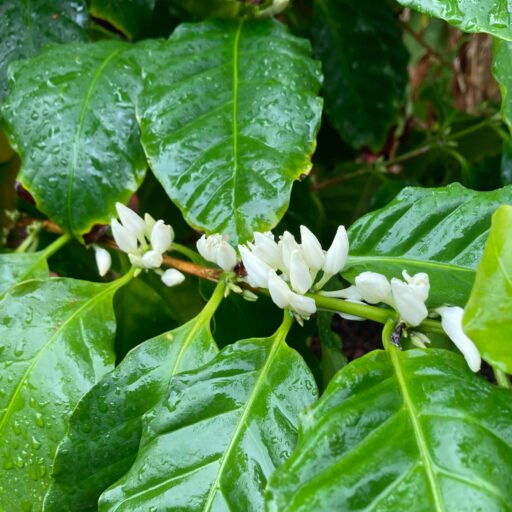
Flowering
Eventually your plants will begin to mature and produce white flowers all over them. Flowering occurs at around 3-4 years of growth. From my experience I first saw flowering at 3 years. Upon successful pollination the flowers will turn into green coffee cherries.
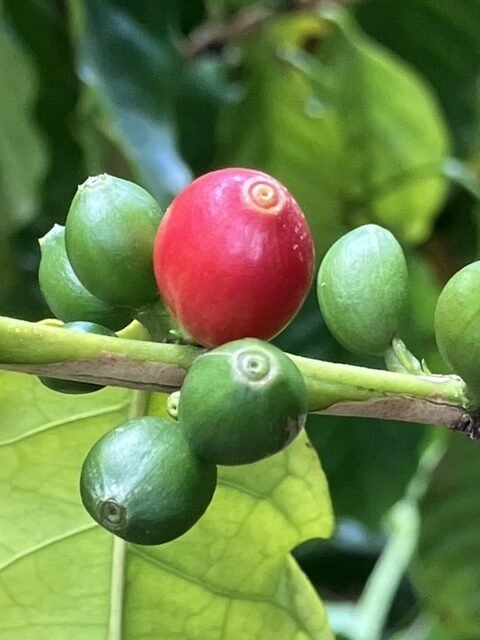
Harvesting!
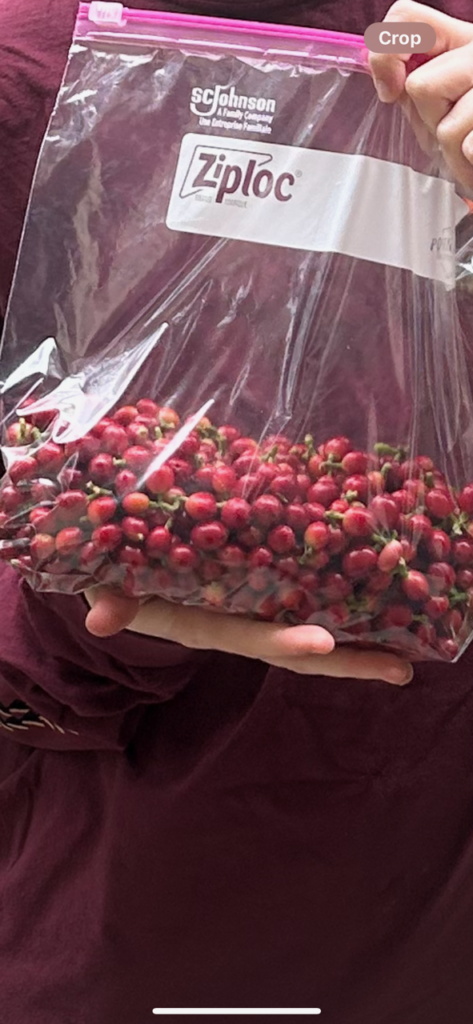
Eventually you will see your green coffee cherries start to turn red. When the coffee cherries turn into a bright red color this is when you want to harvest. Harvesting unripe cherries will affect the quality and taste of the coffee causing it to take more bitter.
At 3 years I harvested a bag with about half the cherries in the bag in the picture to the right. This year at 4 years of growth I have harvested around 4 bags of coffee cherries.

Now How Do I Make Coffee?
This is where the real tedious part comes in. Each coffee cherry will contain 2 coffee cherries inside and sometimes more. The process for processing the coffee I will describe is known as Wet Processing (Washed Coffee). Another method includes Dry Processing (Natural Coffee) where you follow the same steps below but instead of taking the beans out of the cherry you allow the whole cherry to dry out (this process can take several weeks).
-
- Pulping: Take all of the beans out of the cherries
-
- The best method for this by hand is to gently squeeze the beans out of the cherry. Be careful not to squeeze to hard or the beans will go flying.
-
- Tip: This part can get messy
-
- Pulping: Take all of the beans out of the cherries
-
- Fermenting: Put the beans in a bowl of water for 12-48 hours to ferment. This will break down a slimy layer of mucilage on the bean.
-
- Washing: Wash the beans thoroughly
-
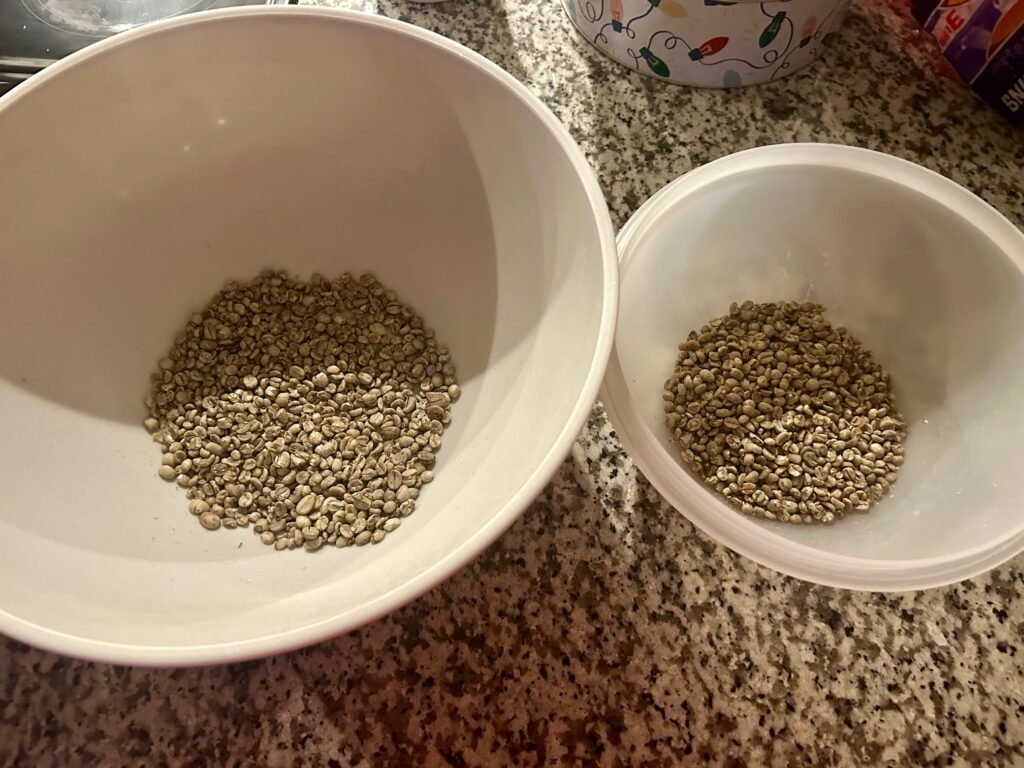
- Drying: The beans must be dried to about 11-12% moisture content
-
- I will generally set mine outside in the sun to dry out anywhere from a couple of days to 3 weeks, just make sure to keep an eye out on the rain. Must be consistently turned to avoid mold growth.
-
- You can also dry them inside with mechanical dryers
-
- Drying: The beans must be dried to about 11-12% moisture content
-
- Once the beans are completely dried out you will want to remove the outer hull of the bean. If you don’t have a hulling machine you can do this by hand.
-
- This process can be quite tedious when doing it by hand
-
- Method 1: Grind the beans between semi-hard surfaces. Ensure not to crush the bean as we are just trying to remove the outer layer.
-
- Method 2: I have seen people grind the beans for just a second in a blender to attempt at removing the hull. I haven’t tried this myself but might be worth a shot.
-
- Once the beans are completely dried out you will want to remove the outer hull of the bean. If you don’t have a hulling machine you can do this by hand.
-
- Roasting: Finally you can roast the coffee beans with a coffee roaster, in an oven, or even in a frying pan.
Coffee Roasters on Amazon:
JAVASTARR Electric Coffee Roaster
French Roast SR800 Automatic Coffee Bean Roaster
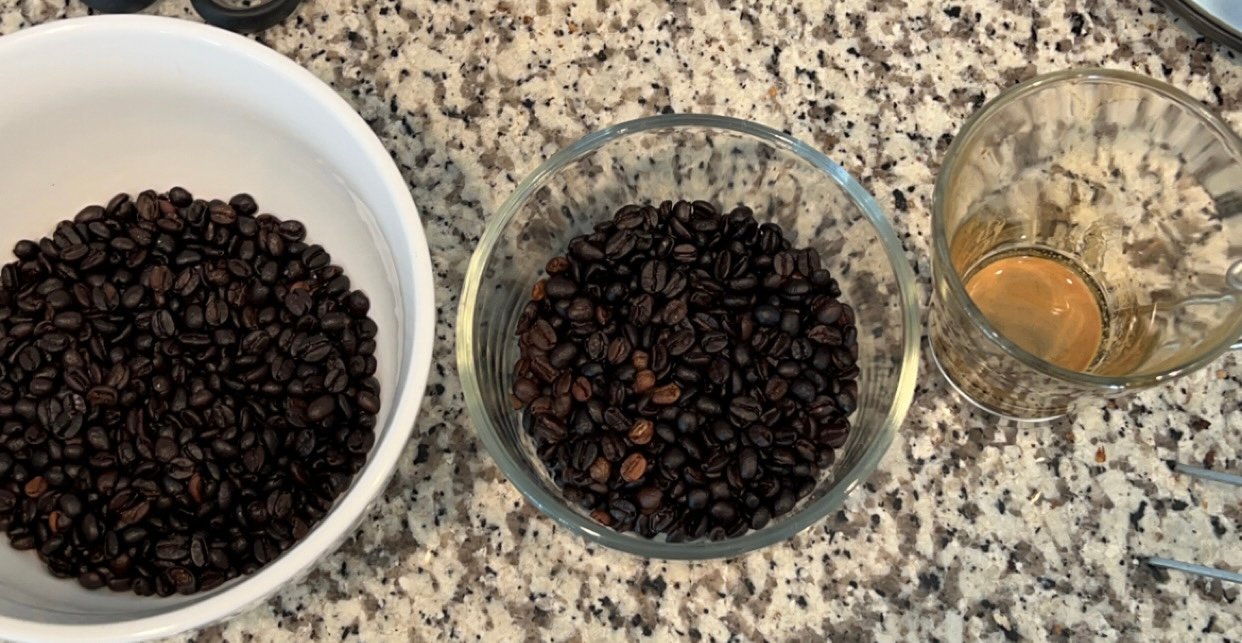
COFFEE
All that’s left is to grind the coffee and make your favorite coffee drink. I recommend making an espresso to try out your home grown coffee! Finally you have succeeded in growing coffee at home!
Thanks for reading, and good luck!
One Comment